After the Attack: Transplanting with Vole King
Share
Hello fellow gardeners! We hear it all the time: My beautiful hostas (or fill in the blank) were thriving, and all of a sudden the whole plant just fell over, dead, the root system destroyed - HELP! Sorry friend, you officially have a vole problem. In this blog post, we want to address a common question: Voles have destroyed my plant, how can I prevent this from happening again?!? As much as we wish, for your sake, that you found us as a proactive solution BEFORE planting, reality is Vole King is usually found in a desperate search after the damage is done. The good news is, it’s not too late to save the rest of your plants - and prevent vole damage in future plantings!
Transplanting 101, Vole King Style
Before we begin, it’s really important to note that transplanting is a stressful process for plants to endure…not as stressful as being eaten alive by a colony of voles, so in your case it’s still worth the risk, but be mindful that your plants will need lots of TLC afterwards!
In a perfect world, where you’re transplanting without urgency, it’s ideal to transplant in the fall or spring, when temperatures are cooler, and the plant can focus on reestablishing a strong root system, without the added stress of producing foliage or surviving the heat/cold. Since you don’t get to choose when voles attack, if you are transplanting at a less than ideal time of year, aim to make the move early in the morning, or in late afternoon/evening, when the temps are cooler and the sun isn’t intense, to avoid creating any extra stress on your plant.
If it’s been dry, water your plants the day(s) before you plan to transplant. This will not only make it easier to dig them out without tearing up the roots, but will allow the plant to soak up plenty of water before it’s stripped of the tiny hairs on its root tips that perform this important function - healthy plants have a better chance of survival. Now without further ado, let’s get started!
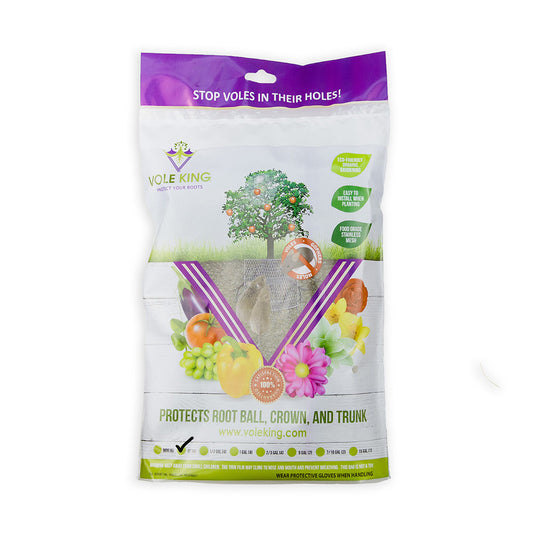
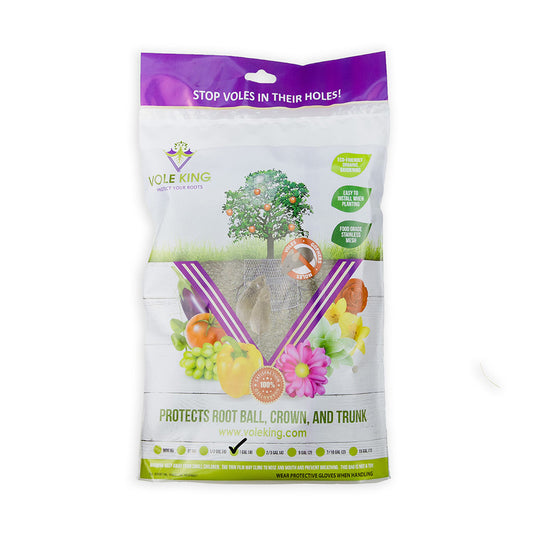
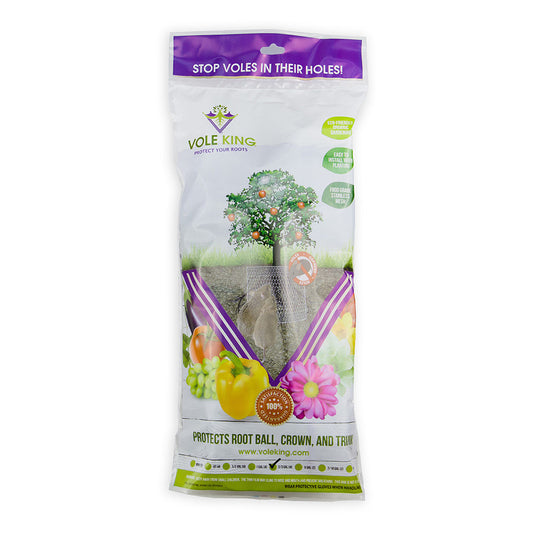
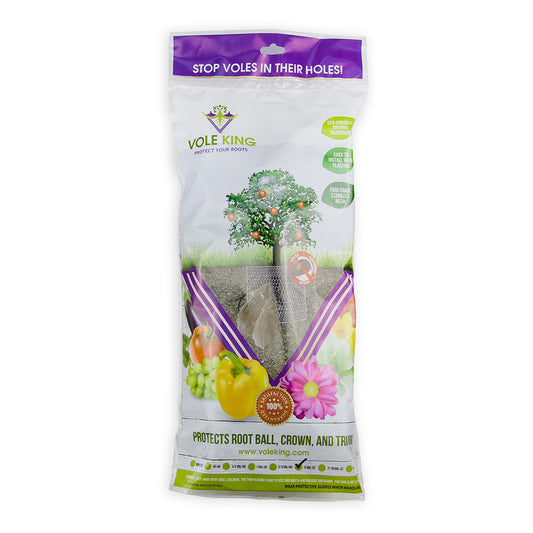
Step 1: Identify what size Vole King baskets you will need to protect your remaining plants. If they are fairly new and you know what size pot they came in, you can use that as your guide. Check out this blog post for more info: https://www.voleking.com/blogs/vole-king-news/choosing-the-right-size-vole-king-baskets-for-your-planting-needs. If you need more specific guidance, don’t hesitate to contact us directly! Once you have your baskets in hand, you’re ready to get started!
Step 2: On the big day, carefully dig out your plant(s), ensuring the root ball remains intact. Dig a little wider than you might expect, as feeder roots grow out, not down, and you want to get as much of the root system as possible.
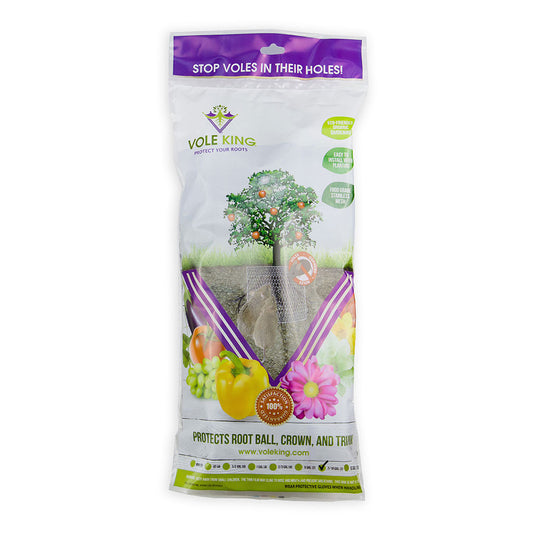
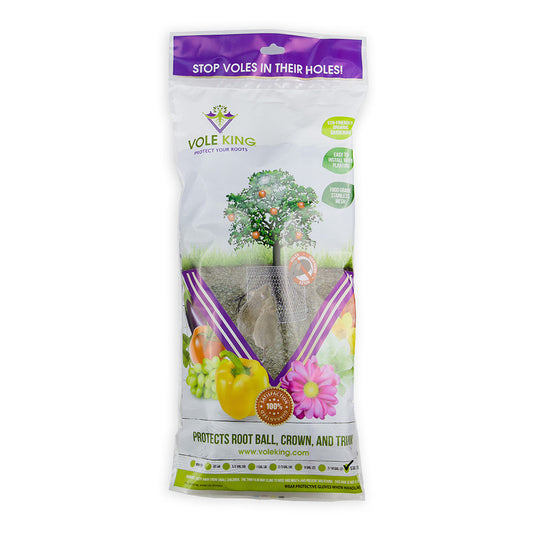
Step 3: Gently loosen the roots, trim off any damaged roots with pruners, and set your root ball inside your chosen Vole King wire mesh basket. Roll the basket up, fill in a little extra soil if needed, and cinch it around the crown of the plant (where the stem meets the roots). This will give extra protection to prevent the voles from attacking at the top of the soil. Set your protected plant back in the hole, ensuring 1-2 inches of wire mesh is exposed above the soil line, and fill in with soil. Make sure that the hole is no deeper than the root ball, as the feeder roots will first grow out (hence the wider hole you dug to remove the plant), not down. It’s not a bad idea to add some granular repellent around your transplant, since you now KNOW that you have a vole problem. Granular repellents don’t work great alone, but it doesn’t hurt to add an additional layer of protection until the voles move out. You will want to complete this process in one sitting, to avoid adding extra stress to your plants.
Step 4: Water slowly and deeply. You want the water to penetrate the entire root ball, but not wash away the precious soil surrounding it. Because it will take a while for the feeder roots (responsible for taking in water) to regrow, you will need to water daily for the first few months. A drip line is a great way to ensure a slow, deep watering occurs.
Step 5: Mulch! Just 1-2 inches will help your transplant retain moisture, and maintain a moderate temperature in those top layers of soil where feeder roots are growing. Anything more than 2” is just giving the voles cover.
Step 6: If you are transplanting in the dead of summer, or it’s just still really hot and sunny where you live, consider providing shade to your transplant for the first couple of weeks to minimize transpiration (water loss via the leaves).
Your plants are now protected and those pesky voles will move on, as you’ve just blocked access to their food source. Congratulations on taking back your garden! Now that you know, be sure to start with Vole King in all of your future plantings!
We would love to hear your success story, and maybe even feature you in a future post! Tag us @vole__king and #voleking on social media! Happy Planting!

